
 English
  Français
Hello and welcome to this first little tutorial, dedicated to discovering Pygame in Python! 😃
Are you tired of programming ugly stuff on the command line, that knows how to do math? Well, that's good, because we're going to program a video game!!! 🤓
Wow, so cool! I have so many ideas!!!... 😍
Oops, but did you know that today, it takes thousands of people, many years of hard work and lots of money (we're talking hundreds of billions here!) to make an AAA game.
Ah? So, it might be a bit hard? 🙃 There aren't billions in my piggy bank... And, I don't want to spend 10 years on it either... 😅
Well no, so we're going to do a little realistic tutorial (and already quite complicated for a beginner...), in order to see the basics a little. 😋
Our goal will be to open a video game window, display a wallpaper, and then a little guy that we can move from right to left and even make jump! Just like that:
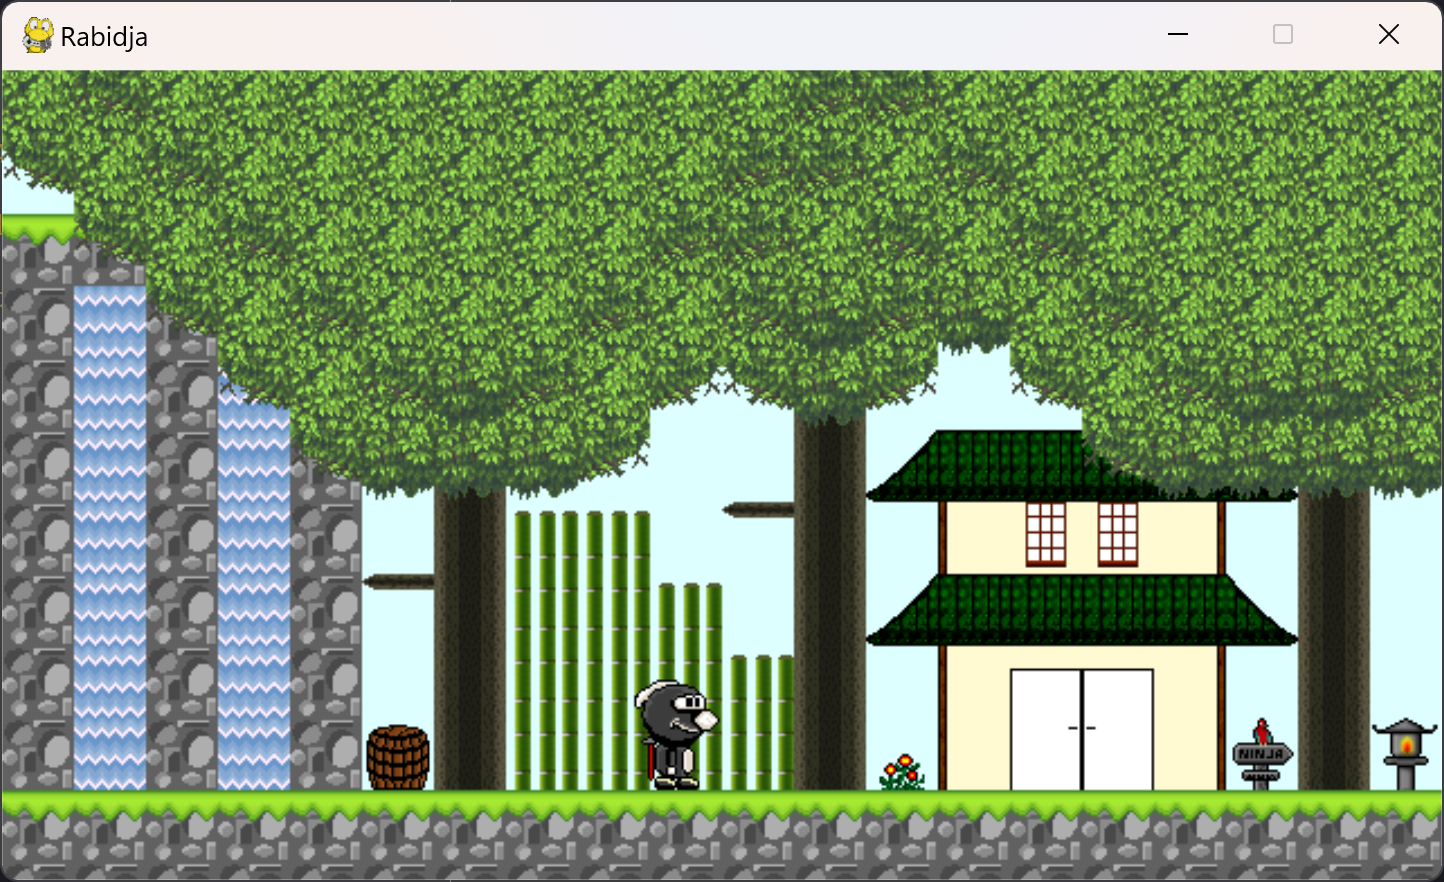
Yeah, it's not bad... 🧐 (but, I'm still a little bit disappointed...)
You didn't expect VR for your first Python game, did you? 😬
And then, if you want to go further, there are other tutorials with SDL or SFML. 😁
Okay, to start, you're going to install Edupython on your favorite PC. Normally, everything is integrated into it, and you just have to start it to get started. 😉
If you want to try VS Code, you can follow this tutorial.
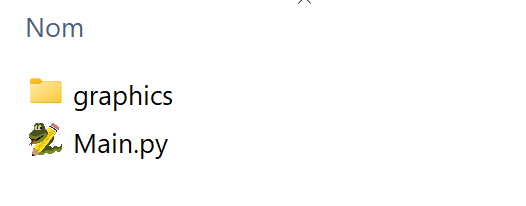
Now, you create a special folder on your hard drive to store the tutorial code (for example : Game in Python) and you download the file below, which you will name "background.png" and which you will save in the "graphics" folder :

background.png
Just like this (you can call your file Main.py):
Now let's move on to the source code of your first Python program! 🤪
I'll let you copy it to familiarize yourself with it, and we'll explain it right after! Here we go! 😎
# Created by Jay81, 16/06/2024 with Python 3.7 # Import of pygame import pygame from pygame.locals import * #Initialization of pygame pygame.init() # Opens the game's window in the resolution of 640 x 360 pixels window = pygame.display.set_mode((640, 360)) # Loads the background's screen file background = pygame.image.load("graphics/background.png").convert() # Main infinite loop for the game continues = True while continues : # Testing the events for event in pygame.event.get(): # If we press Quit, we stop the game if event.type == QUIT: continues = False # Drawing the background screen window.blit(background,(0,0)) # Updating the screen pygame.display.update() pygame.quit() |
And there you have it! Now, if you click on the green arrow at the top of Edupython, it will launch the program and your first game!!! 🤠 which does nothing but display a background... (Boo!!!! 😒)
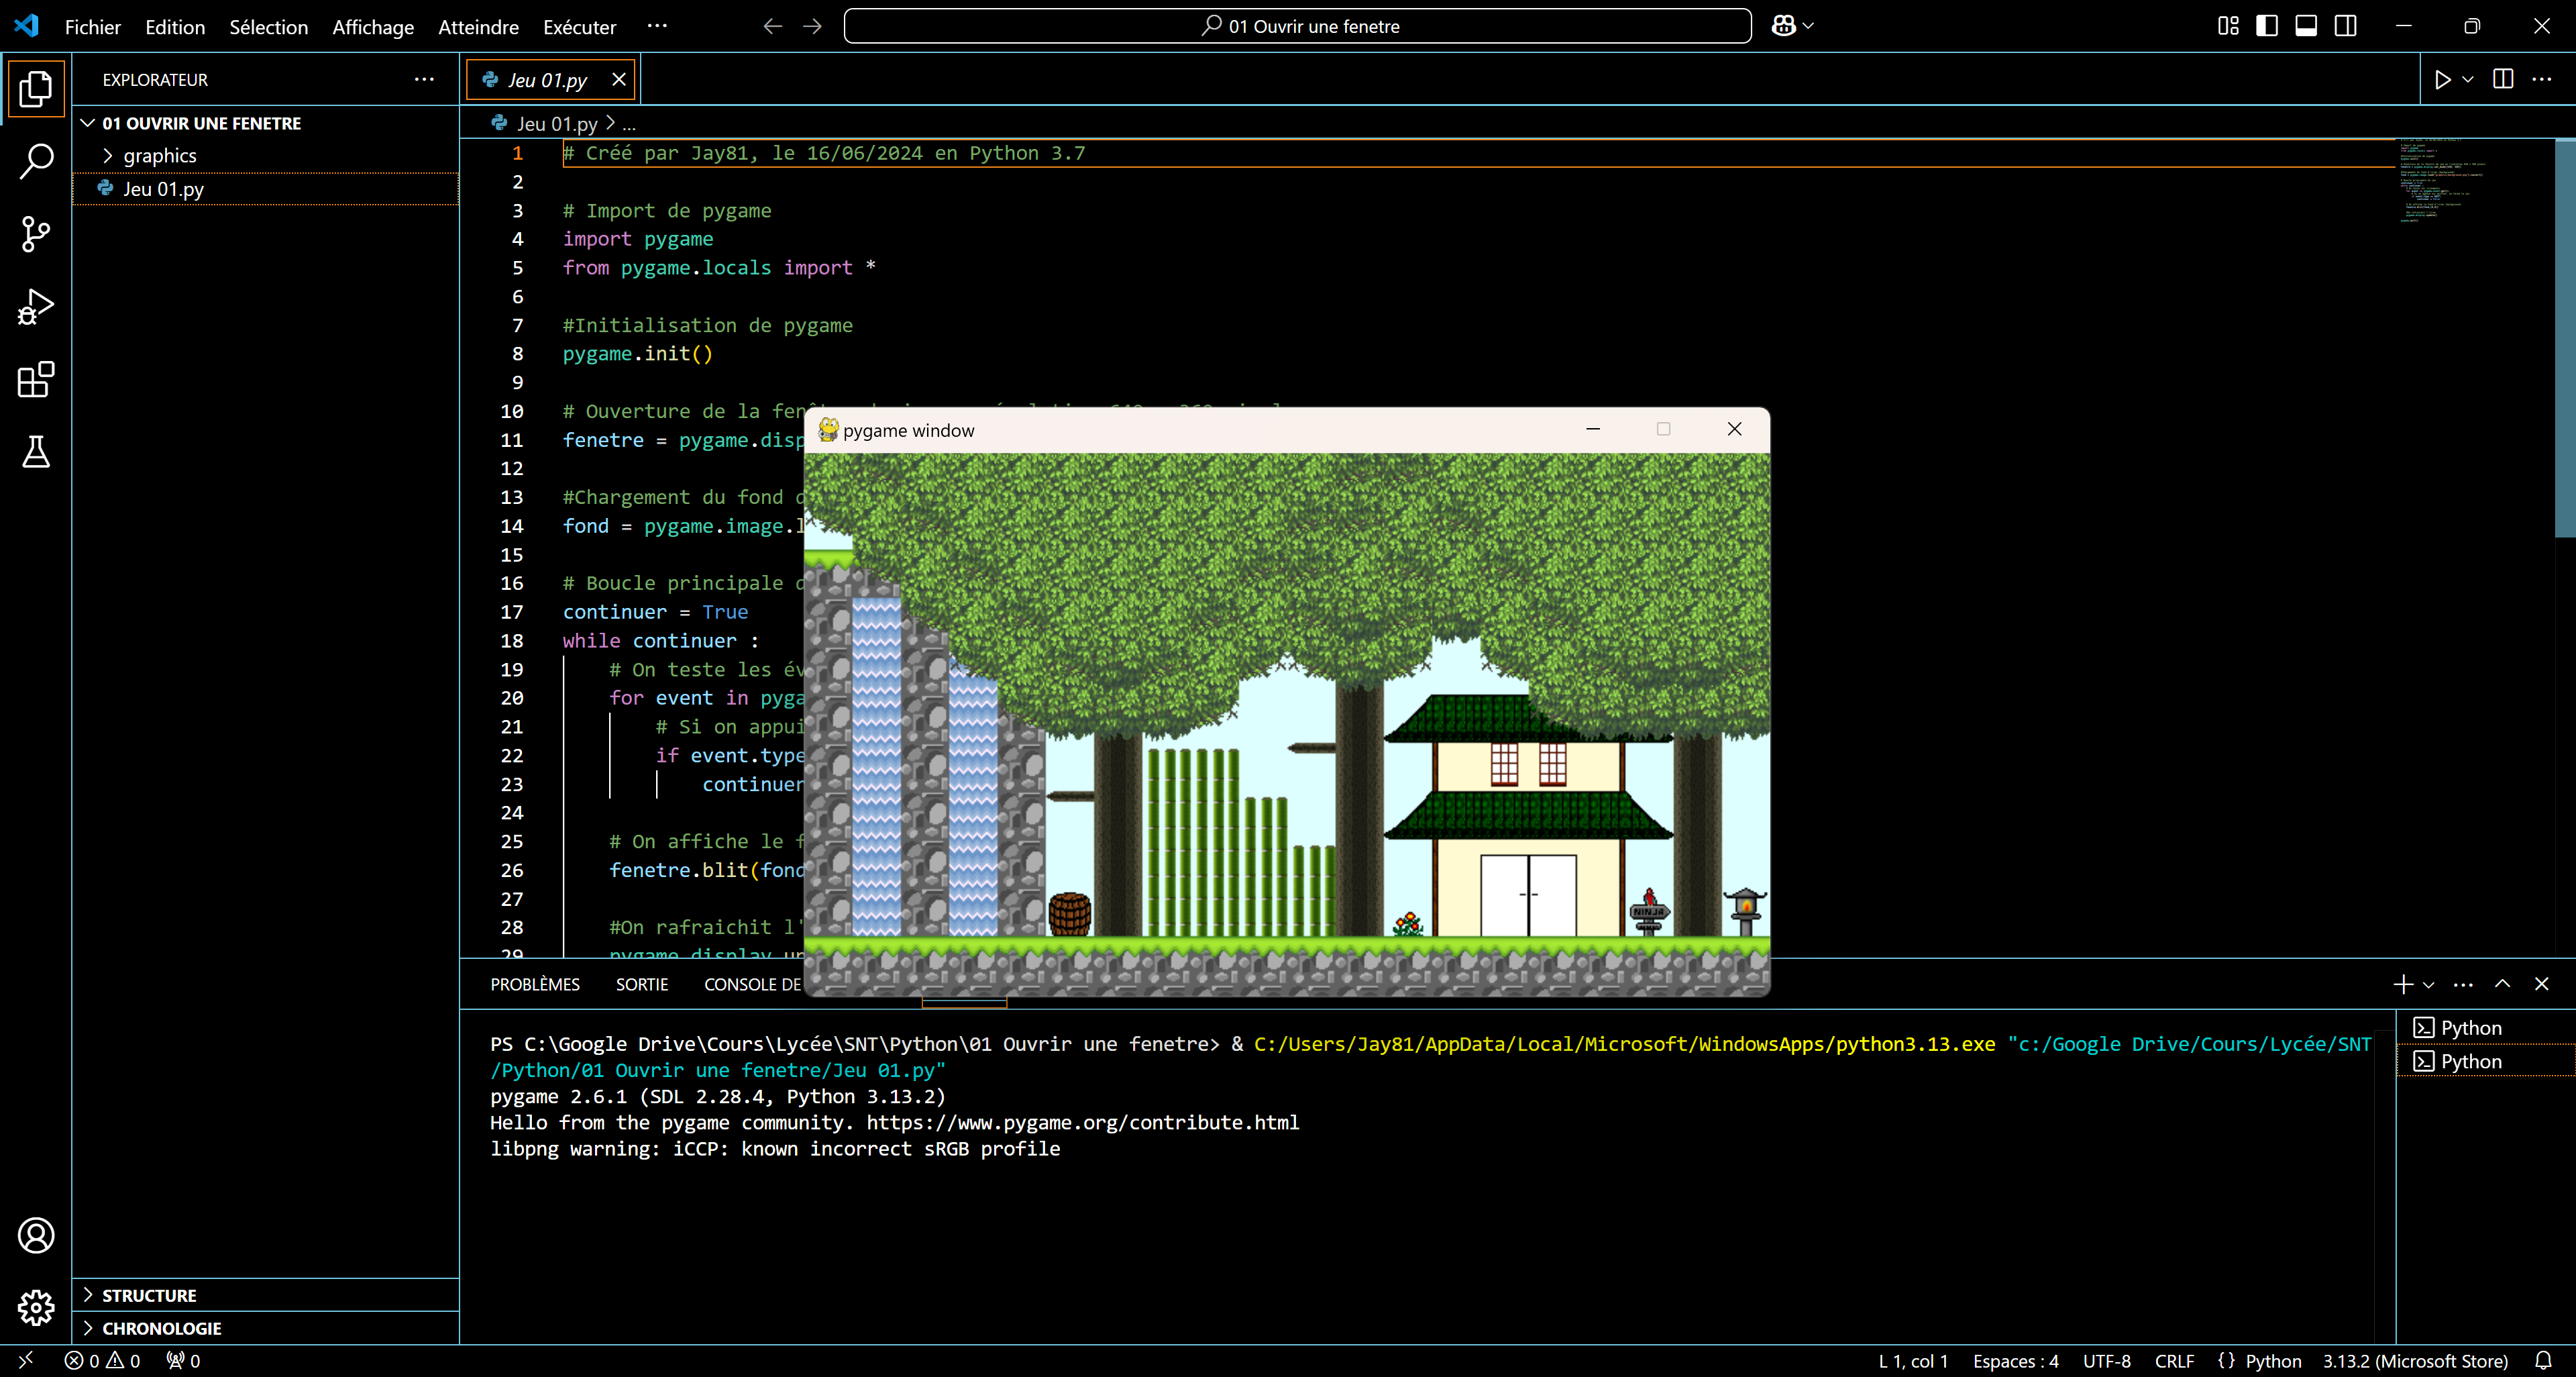
But everything has to start somewhere! And it's already more fun than 2 + 2 on the command line, right? 😅
Warning: if the program crashes and the window with the background won't open, this could be either because you did not put the image in the right place (and therefore you are not following... 🤪) or because VS Code is not well configured. You will then find how to configure it here (at the bottom of the tutorial). Otherwise, you can also try with Edupython.
Okay, now let's move on to the explanations! 😀
First of all, to be able to program video games and display images, manage a controller, play music... we need what is called a library.
This is where Pygame comes in.
But what is a lib... library? 🧐
To put it simply, it's a set of functions that very nice people have pre-programmed for you, so that you can, for example, open a window in a few lines of code (instead of several hundred 😱). Pygame is based on SDL 2 which has been around for a very long time and basically allows you to make video games in C (then C++).
But why program in Python with it, then? 😅
There, I admit that I still ask myself the question... 🤣But, well, here, you have to use Python, so let's go! If you want to move on to C / C++, you can then test the other tutorials! 😃
Come on! We start by importing our Pygame library using the following two lines:
# Import of pygame import pygame from pygame.locals import * |
Next, we tell our program to initialize Pygame. We only write one line of code, but Pygame does all the work! 😉
#Initialization of pygame
pygame.init()
|
To open our game window, we call the Pygame display.set_mode function (well, some of you will probably have recognized it as a call from the SDL 😉) and we will create a window of 640 pixels x 360.
Why? 🤔
Because we're going to make a retro pixel art game, so 4K is not for us! 🥴 and also because it's a 16:9 format more suited to our modern screens than the 4:3 format. So, it will be prettier when we switch to full screen! 😀
# Opens the game's window in the resolution of 640 x 360 pixels window = pygame.display.set_mode((640, 360)) |
Then, we load our background image to display (yes, the one you downloaded above! 🤣 To do this, we use the load function, located in image of pygame (we'll see the classes later 😉) and we indicate its location on the hard drive, relative to the python file (so, if it doesn't work, it's because the image is not in the right place! 🤪)
# Loads the background's screen file background = pygame.image.load("graphics/background.png").convert() |
Now that it's done, we have just initialized our game with its window and its image file (imagine all the files to load in modern games! 🥶) and we can therefore move on to the main loop of our game!
Wait, what? A loop? 🙃
Yes, a video game is actually an infinite loop that runs non-stop and always repeats the same things: testing the inputs (i.e. if you press a key, for example), updating the game accordingly, this is the update (for example, making the guy jump if you press A) and finally displaying the result on the screen by " blitting " all the graphics. 😎
What if we are at 60fps? 😶
So, the loop repeats 60 times per second! 😇 (We will manage the fps in chapter 3).
# Main infinite loop for the game continues = True while continues : # Testing the events for event in pygame.event.get(): # If we press Quit, we stop the game if event.type == QUIT: continues = False |
That's it, as long as the continues boolean is true , the loop continues to run infinitely. 🤪
We test the events (or events to see if there is a press on the Escape / Echap key ) and if this is the case, we change continue to False to quit the game. 😡
If this is not the case, we continue by blitting / displaying the background (our background.png image, if you follow 😉):
|
# Drawing the background screen
window.blit(background,(0,0))
|
Next, we call Pygame's display.update function to refresh the screen:
# Updating the screen
pygame.display.update()
|
And that's the end of our loop! 😃
Be careful with the indentation (spaces) in Python so that the program knows where the loop ends, otherwise it's going to be a disaster! Personally, I prefer the braces in C, but Python is supposed to be simpler... 🤔
And one last line of code, which will only be executed if we exit the infinite loop:
|
pygame.quit()
|
And, as its name suggests, it will allow you to exit Pygame properly, in particular by freeing the memory that you have used (otherwise, it creates memory leaks that your PC cannot get rid of unless it is restarted 😉).
That's it for this first step! In the next chapter, we import Rabidja, the extreme ninja rabbit! 😁
See you soon for the rest! 😄